1 + 12
In this chapter we will learn how to install Python and run our very first command.
The easiest way to install Python and Jupyter Notebook is by installing Anaconda, which is a software package that includes Python, Jupyter Notebook, and other software applications. You can install Anaconda by visiting https://www.anaconda.com/download.
You should see this page:

You should click the “Skip registration” button (although feel free to register if you like). You will then see the following page:
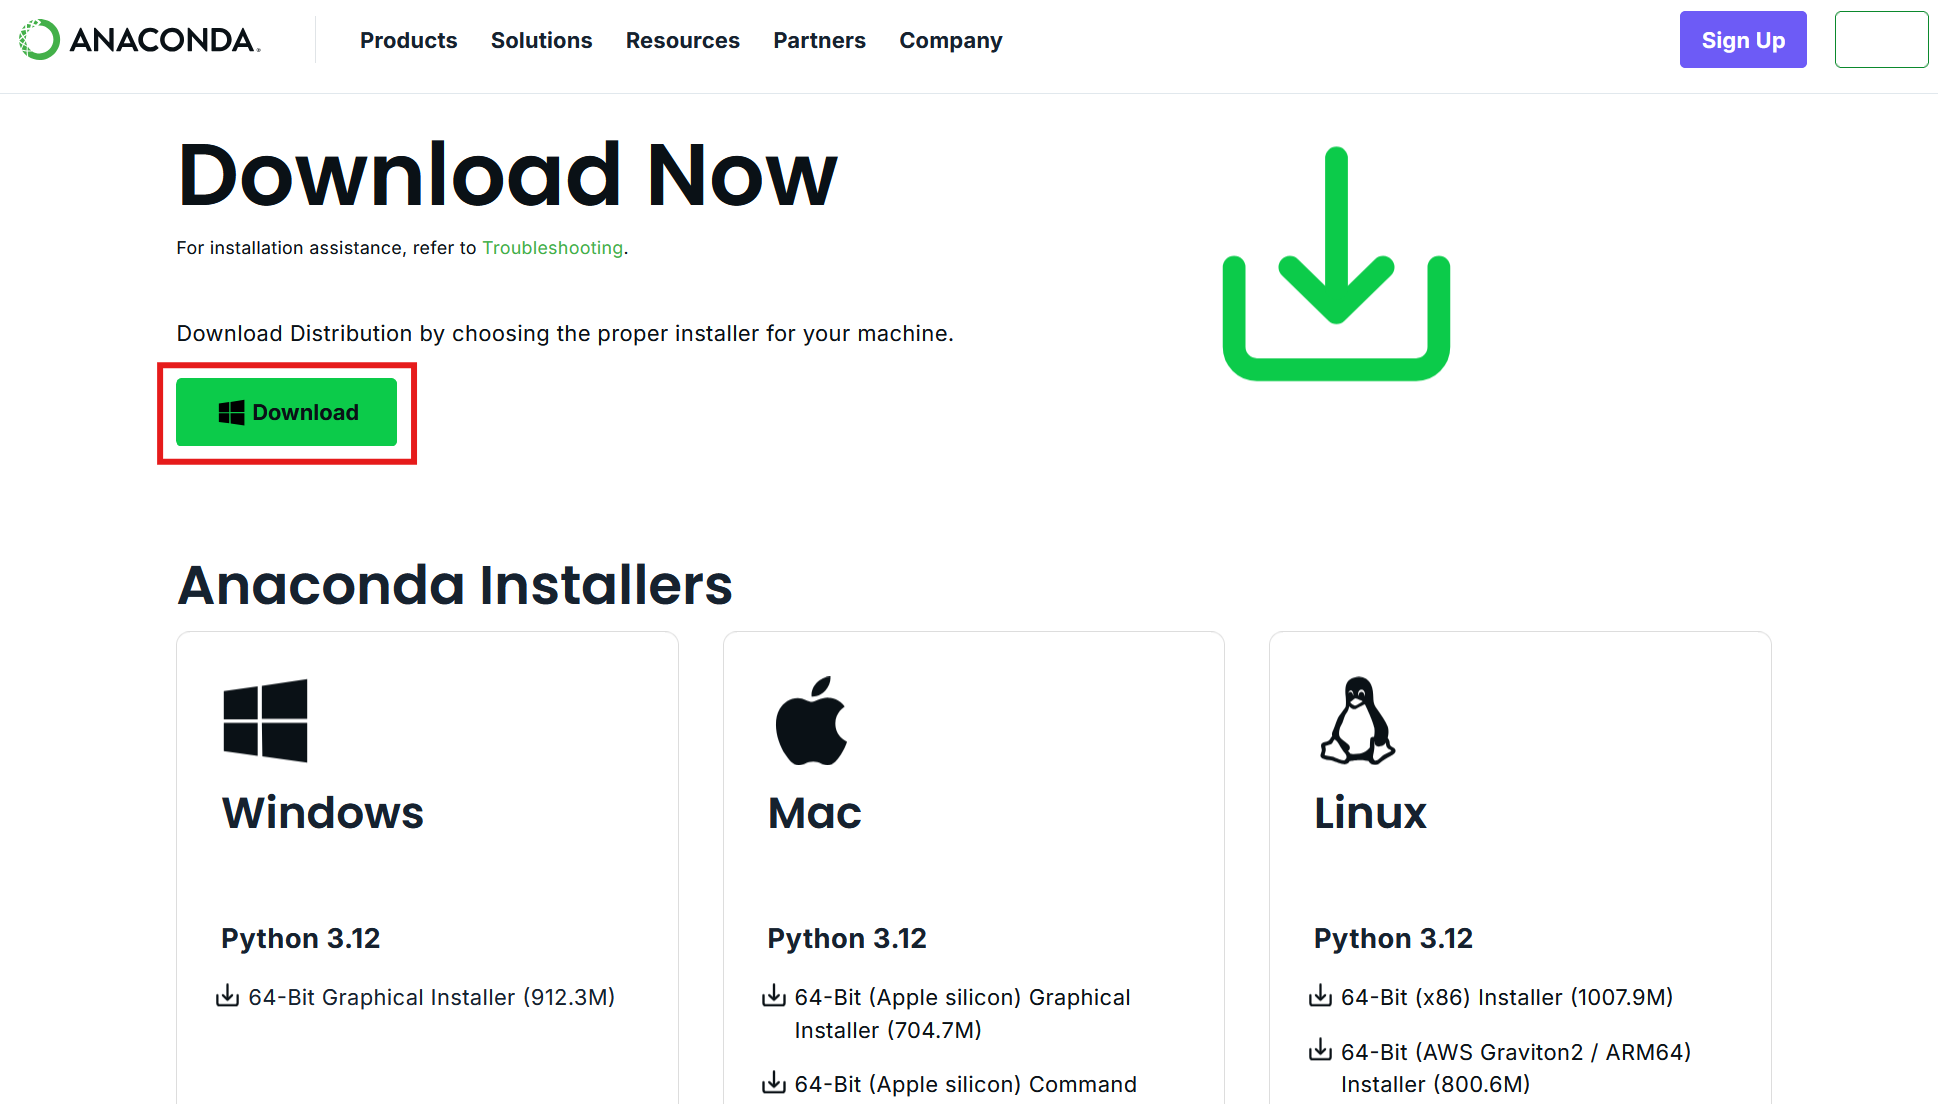
You should then click on the “Download” button. Mac users will see a Mac logo instead.
After downloading the file, click on it to install it. Follow the installation wizard and keep all the default options during installation.
After installation you will see a number of new applications on your computer. You can see all applications that were installed using Anaconda Navigator. You can open the navigator by searching for it in the Start menu (on Windows).

We highlight two applications:
You can open the Jupyter Notebook application either by pressing ‘Launch’ in the Anaconda Navigator, or you can search for the application directly on your (university) computer via the Start menu.
The application will open as a tab in a web browser, and you should then see a list of folders.
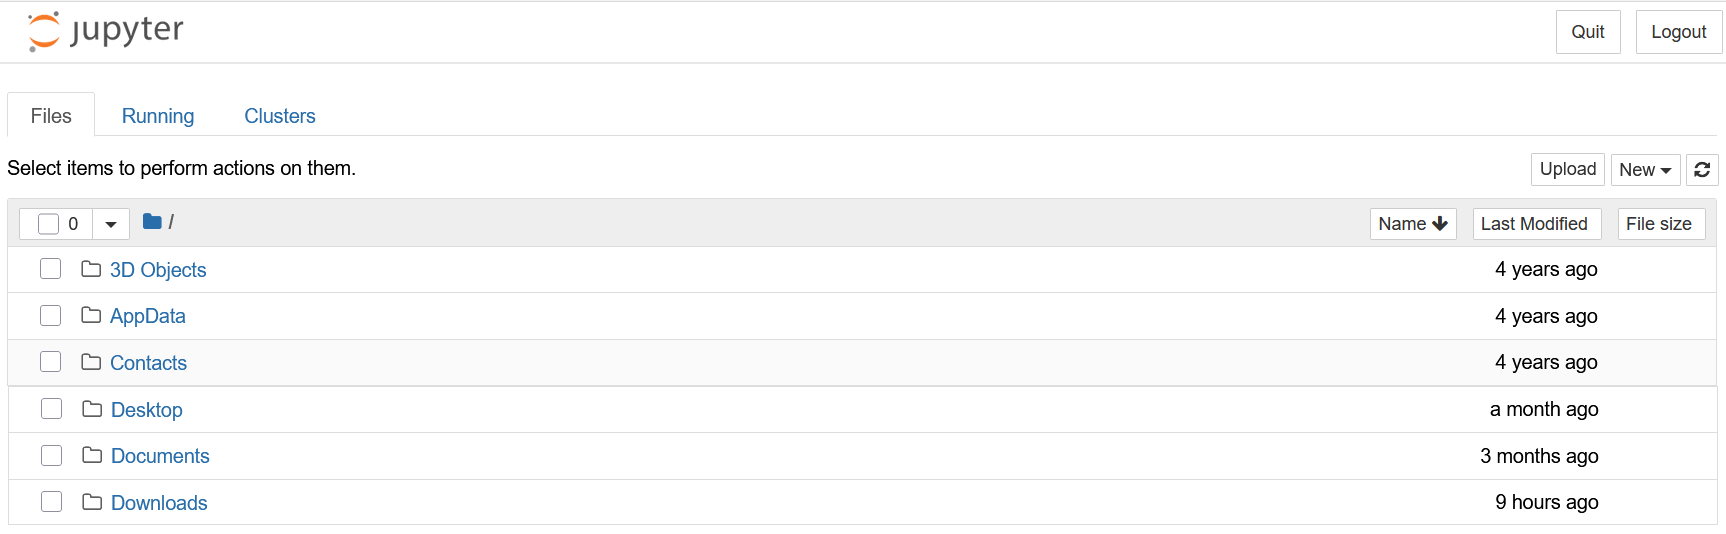
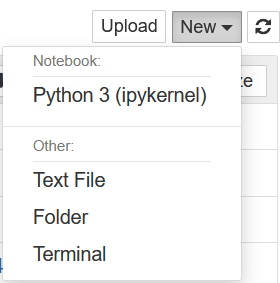
You can navigate to a folder and then create a new notebook by clicking on ‘New’ in the top-right and then selecting ‘Python 3 (ipykernel)’ under Notebook.
The new notebook will open in another tab and is stored in the folder in which you created it, typically under the name ‘Untitled.ipynb’. You can change the name of the file either in the folder in which you stored it, or via File -> Rename in the top-left corner. You should see the empty notebook as below.

In the bar you can type Python code. Let us execute our first code, which is a simple calculation 1 + 1. To find 1+1 in Python, we can use the command 1+1, similar to how we would do it in Excel or in the Google search engine. Let’s try this out. Type 1+1 in the code bar and click \blacktriangleright Run (or hit Shift + Enter on your keyboard). We will see the output 2 on the next line next to a red Out [1]:
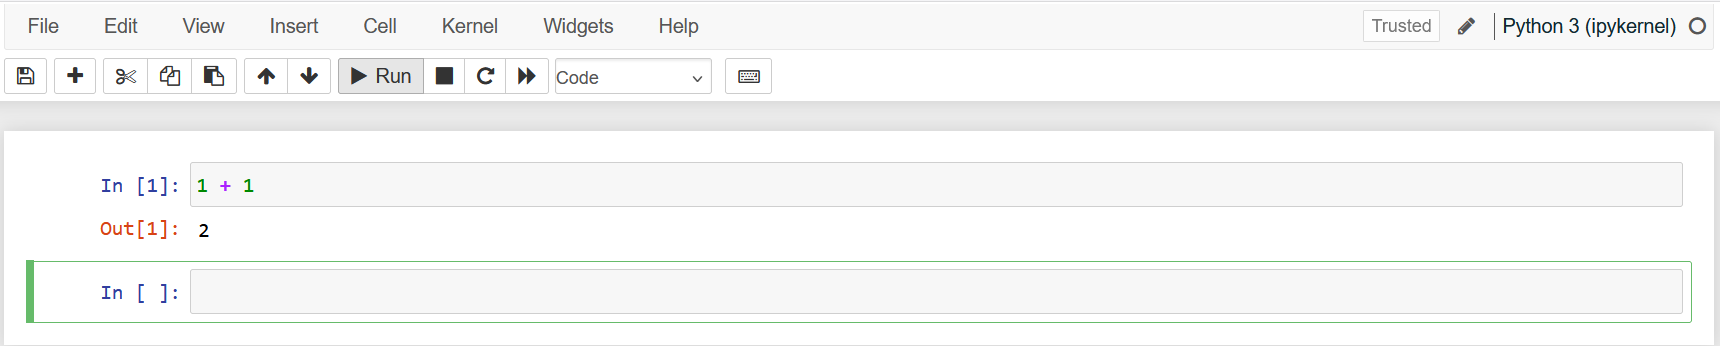
The red Out [1] means this is the output from the code snippet In [1] executed in this notebook. If we continue typing code in the second bar, it will be called In [2] and its output Out [2]. However, the same happens if we would re-run the first code snippet with 1+1: It will also be called In [2] and its output Out [2]. The index keeps track of how many code snippets have been executed in the notebook.
The extension of a Jupyter Notebook file is .ipynb and sometimes denoted as Jupyter Source File. If you have stored such a file on your computer, you can open in it Jupyter Notebook as follows:
If you store a file on a (TiU) university computer, for example in the Downloads folder, it will typically be deleted when you log out. To avoid this, either:
Next time you want to use a file, put it again in the Downloads folder to work on it (and make sure to back it up properly again afterwards).
If you want to open a .ipynb file that is located in the M: drive of a university computer, you need to open Jupyter Notebook differently than explained above (because you cannot navigate to the M: drive if you open Jupyter Notebook via the Start menu). Instead, do the following:
jupyter notebook --notebook-dir=M: and press EnterIn this book, we won’t always show screenshots like we did above. Instead we will show code snippets in boxes like this:
1 + 12The part that is code will be in color and there will be a small clipboard icon on the right which you can use to copy the code to paste into your own Notebook to be able to experiment with it yourself. The output from the code will always be in a separate gray box below it (without a clipboard icon).